
.jpg)
Let's decoupage some ornaments... it's cheap and easy, fast and fun! This art project was a huge hit earlier this week when I did it with Big Brother's second grade class. At home, Little Brother {age 4.5} and I have had a great time with this activity as well.
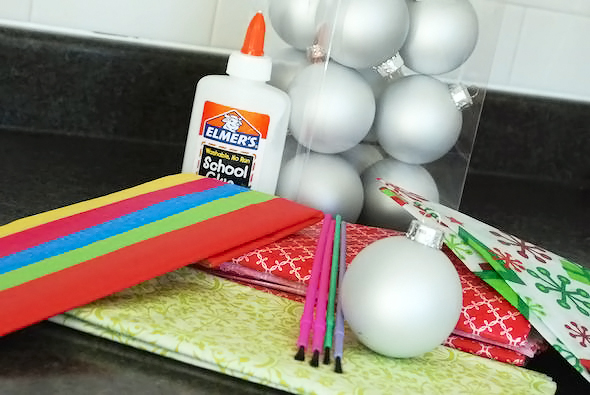
- Christmas ornaments... I opted for cheap plastic ones because I didn't want the school children carrying glass home in their backpacks, but old, scratched glass ornaments that you already have on hand or that you thrift are fine.
- Modge Podge... or a 50/50 mixture of school glue and water if you've loaned your Modge Podge to a friend like me.
- Cheap plastic paintbrushes.
- Paper... colorful bits of tissue paper, wrapping paper, newsprint, Sunday comics, whatever.


Let it dry. If you use Modge Podge it should dry within 1.5 hours. If you use the glue-water mixture allow for a longer dry time.
Things to keep in mind... Modge Podge will dry quickly with a nice sheen but is more expensive than glue. Using watered down glue is definitely more economical and is an easier option if you already have glue on hand, although the finish will not be as shiny when it's dry. The differences are very subtle.
.jpg)


.jpg)
